YouTube Gaming is a live streaming gaming platform that launched on August 26, 2015. The platform allows gamers to broadcast their gameplay to a global audience of gamers and non-gamers alike. In order to stream gaming on YouTube, you will need a few things: a strong internet connection, a webcam, and a microphone. You will also need to be familiar with the YouTube livestreaming interface. This guide will walk you through the process of setting up your account and starting your first live stream.
What You Need to Stream Gaming on YouTube
Gaming on YouTube is a popular way to connect with other gamers and build a community. If you’re thinking about streaming gaming on YouTube, you’ll need a few things first. In this article, we’ll go over what you need to get started streaming gaming on YouTube.
A Good Internet Connection
To stream your gameplay on YouTube, you’ll need a good internet connection. The higher the quality of your stream, the more bandwidth you’ll need. A 1080p stream requires about 4Mbps, while a 720p stream only requires about 2Mbps. If you’re not sure how fast your connection is, you can check it with a speed test tool like speedtest.net.
You should also make sure that your router is properly configured for gaming. Many routers have Quality of Service (QoS) settings that allow you to prioritize gaming traffic over other kinds of traffic, like video streaming or web browsing. Check your router’s documentation to see if it has this feature and how to configure it.
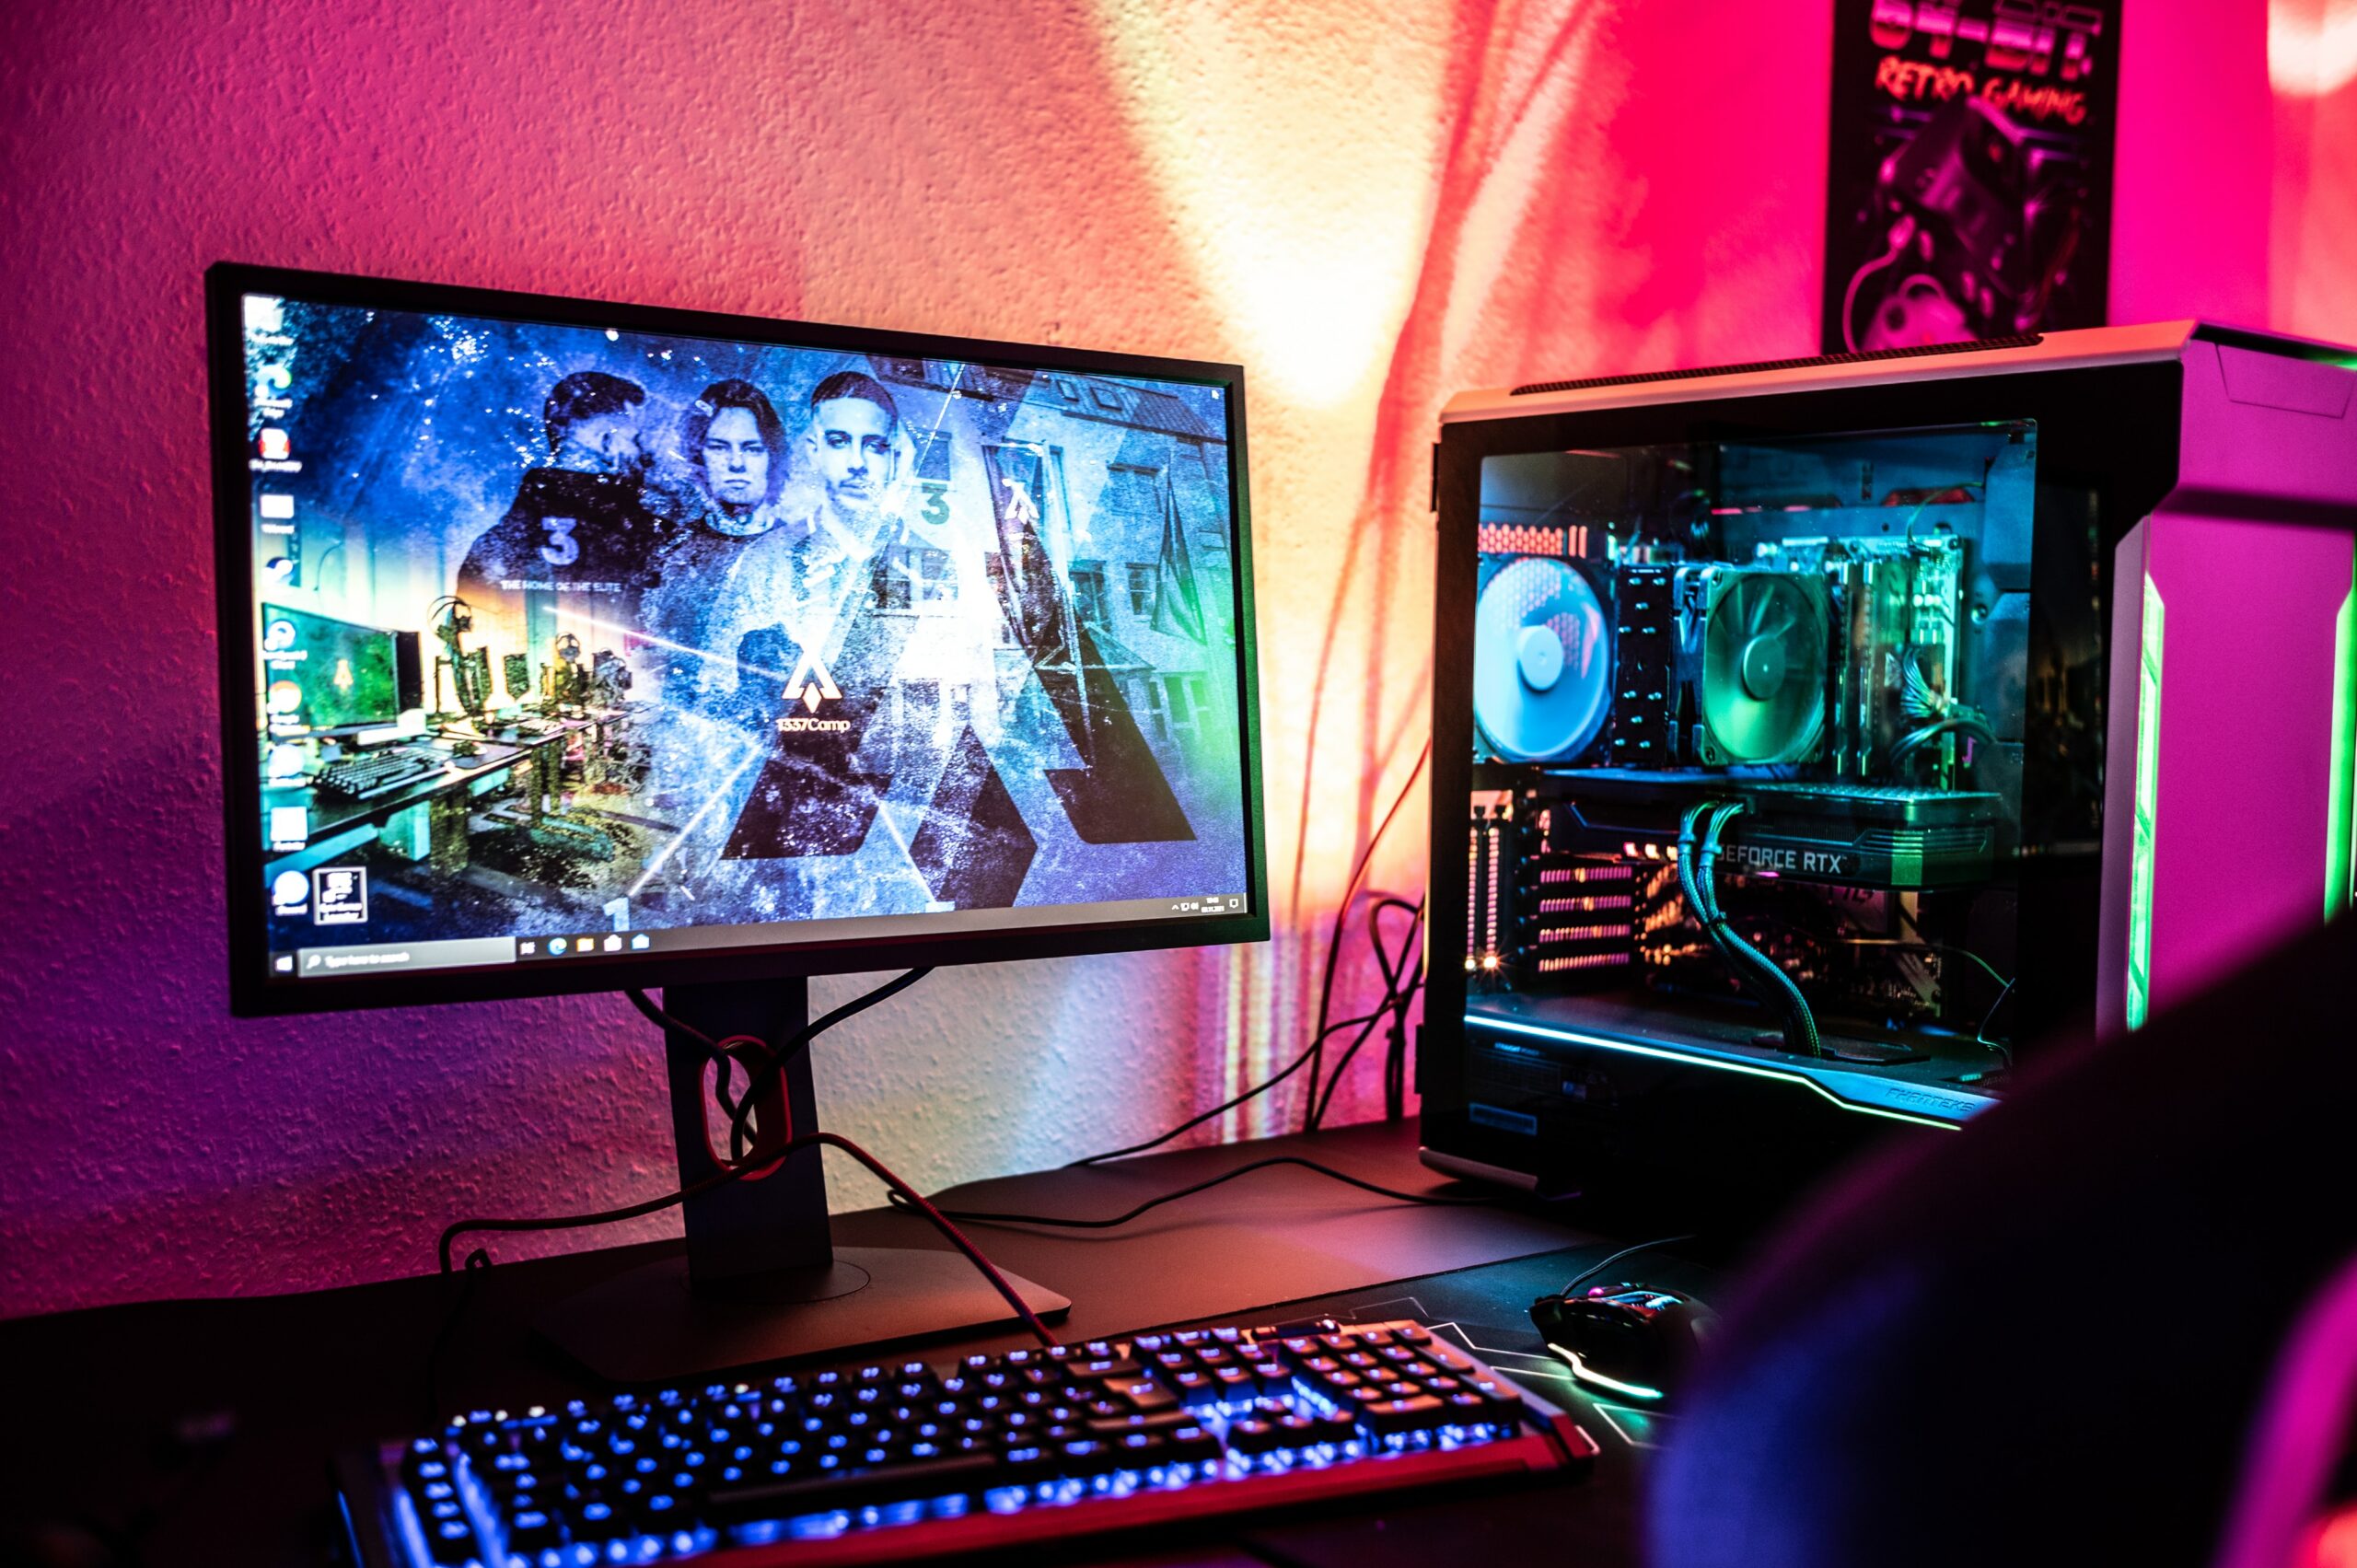
A PC or a Mac
If you want to stream gameplay footage from a console like Nintendo Switch, Xbox One, or PlayStation 4, you’ll need to use a capture card. We have a guide on the best capture cards for streaming if you need help picking one out.
Apart from that, the hardware requirements for streaming on YouTube are very minimal. Any half-decent computer should be powerful enough to handle the encoding process without breaking a sweat, and even if your rig is a few years old there’s a good chance it will be able to cope.
There are two exceptions to this rule: if you’re planning on streaming at 4K resolution or 60fps, or both, then you’ll need a more powerful machine. 4K video requires a lot more processing power to encode, and 60fps footage needs twice as many frames per second, so you’ll need a CPU that’s up to the task.
A Capture Card
If you want to stream your gaming sessions on YouTube, you’ll need a few things. The most important is a capture card that can record your gameplay. You’ll also need a powerful computer and a good internet connection.
There are a few different types of capture cards, but the two most popular are the Elgato HD60 and the AVermedia Live Gamer Extreme. Both cards record gameplay at 1080p and 60 frames per second, which is the industry standard for gaming videos. The Elgato HD60 is slightly more expensive, but it’s easier to use and has better software. If you’re looking for a cheaper option, the AVermedia Live Gamer Extreme is a good choice.
Once you have your capture card, you’ll need to install streaming software on your computer. OBS Studio and XSplit Gamecaster are two of the most popular options. They’re both free to use and have fairly simple interfaces. Once you’ve installed the software, you’ll need to create an account on YouTube and link it to your streaming software
Once everything is set up, you’re ready to start streaming! Just hit the “record” button in your streaming software and start playing. Be sure to interact with your viewers while you’re streaming, as they’ll be more likely to watch your channel if they feel like they know you.
Streaming Software
Twitch
How to stream gaming on youtube
In order to stream gaming on YouTube, you need a few things. First, you’ll need a Capture Card or an Internal Graphics Card. If you have a newer computer, you may have what’s called an “integrated graphics chip” built into your motherboard. This is good enough for low-quality streaming, but if you want to go pro, you’ll need a dedicated capture card.
Configuring Audio and Video Settings
In order to start streaming gaming content on YouTube, you’ll need to configure both your audio and video settings.
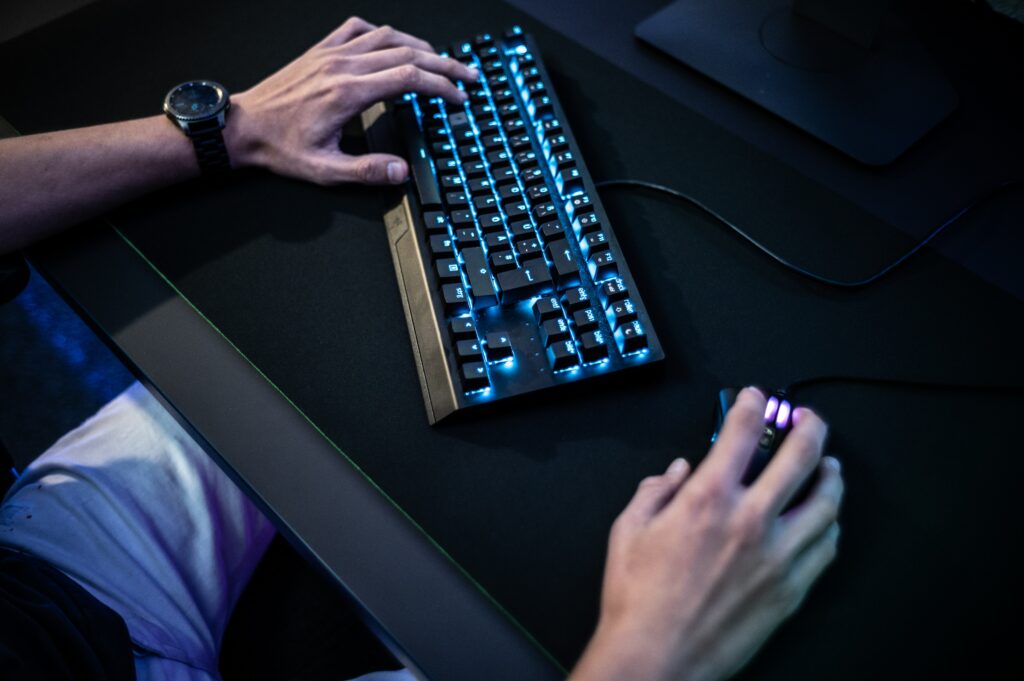
For audio, you’ll need to make sure that you have a microphone set up and connected to your computer. If you don’t have a microphone, you can use the built-in microphone on your webcam or headset.
Once you have a microphone set up, open the Audio Settings menu in YouTube Gaming and select your microphone from the drop-down menu.
Next, adjust the input volume until the green bar next to the Microphone icon is lit up. You can also test your microphone by talking into it and verifying that your voice is being picked up by watching the green bar move.
For video, you’ll need to make sure that you have a webcam set up and connected to your computer. If you don’t have a webcam, you can use your smartphone as a webcam by downloading an app like DroidCam (for Android) or iVCam (for iPhone).
Once you have a webcam set up, open the Video Settings menu in YouTube Gaming and select your webcam from the drop-down menu.
Next, adjust the input volume until the green bar next to the Webcam icon is lit up. You can also test your webcam by looking into it and verifying that your image is being picked up by watching the green bar move.
Setting Up Scenes
When you’re ready to start streaming your game play on YouTube, you’ll need to set up some “scenes” in OBS Studio. A scene is simply a collection of sources that appear in your final broadcast. You can think of them as individual shots in a movie. You might have a scene for your game play, one for your webcam, and another for your overlays and alerts. Creating scenes ahead of time will make it easier to switch between them during your broadcast.
Creating an Overlay
An overlay is a semi-transparent image that you can place over your gameplay footage. It generally contains information about your channel, what game you’re playing, or both. You can create an overlay in Photoshop or GIMP (both free programs) using the dimensions YouTube provides here. If you want to get really creative, there are a ton of FREE overlays and templates on sites like Nerd Or Die and Places to find FREE Twitch Overlays & Alerts for OBS
Going Live
Now that you’ve set up your channel and Twitch account, it’s time to start streaming. There are a few things you should do before starting your live stream.
First, you need to download streaming software. OBS Studio and XSplit Gamecaster are two popular options. Once you’ve downloaded the software, open it up and set up your scene. A scene is basically what will be shown on your live stream.
You can add different elements to your scene, such as game capture, webcam capture, text, images, and more. You can also rearrange and resize these elements so that everything looks good on your live stream.
Once you’re happy with your scene, it’s time to start streaming. Make sure you have a good internet connection and then click the “Start Streaming” button in your software.
You can now go to YouTube and watch your live stream!
Conclusion
We hope you found this guide helpful! If you have any questions, please feel free to leave a comment below. Remember, the most important thing is to have fun while you’re streaming. Happy gaming!